
1.9 Toast Message Feedback
What you are building
A temporary toast message that appears after an action and disappears automatically.
Tap a button.
A confirmation message slides in.
After a short delay, it slides away.
This pattern is commonly used for lightweight feedback in iOS.
How to think about it
Toast messages are about acknowledgement without interruption.
They confirm something happened, then get out of the way.
A toast should never demand attention. It should appear, reassure, and disappear.
Here, the state lives in position and time.
Recreate this in ProtoPie
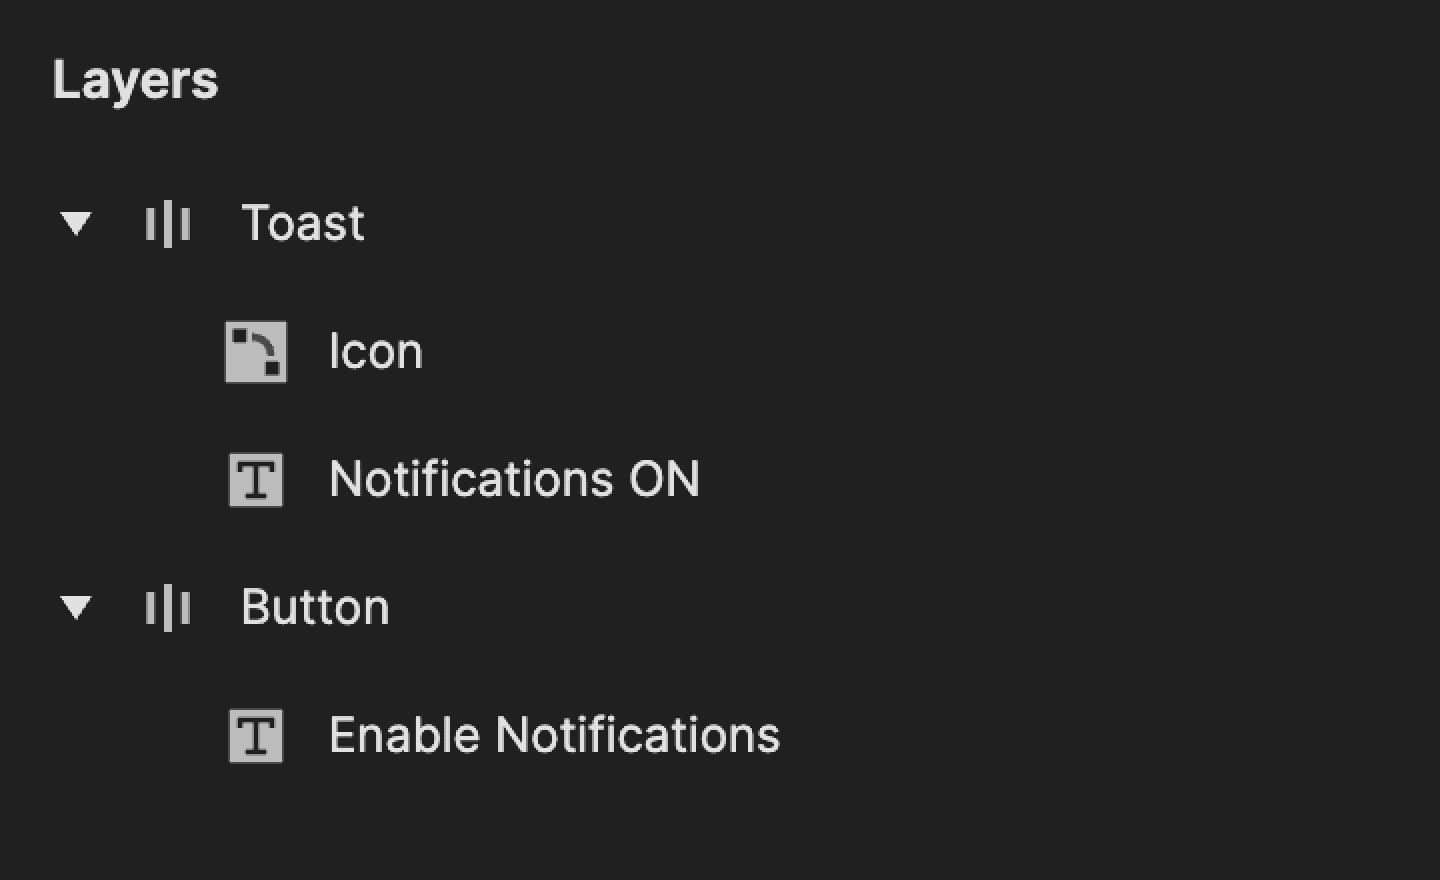
Start by creating two containers:
Toast container
Icon
Text (for example, Notifications ON)
Button container
Text (for example, Enable Notifications)
Set the Y position of the Toast to -80 by default.
This places it just outside the visible area.
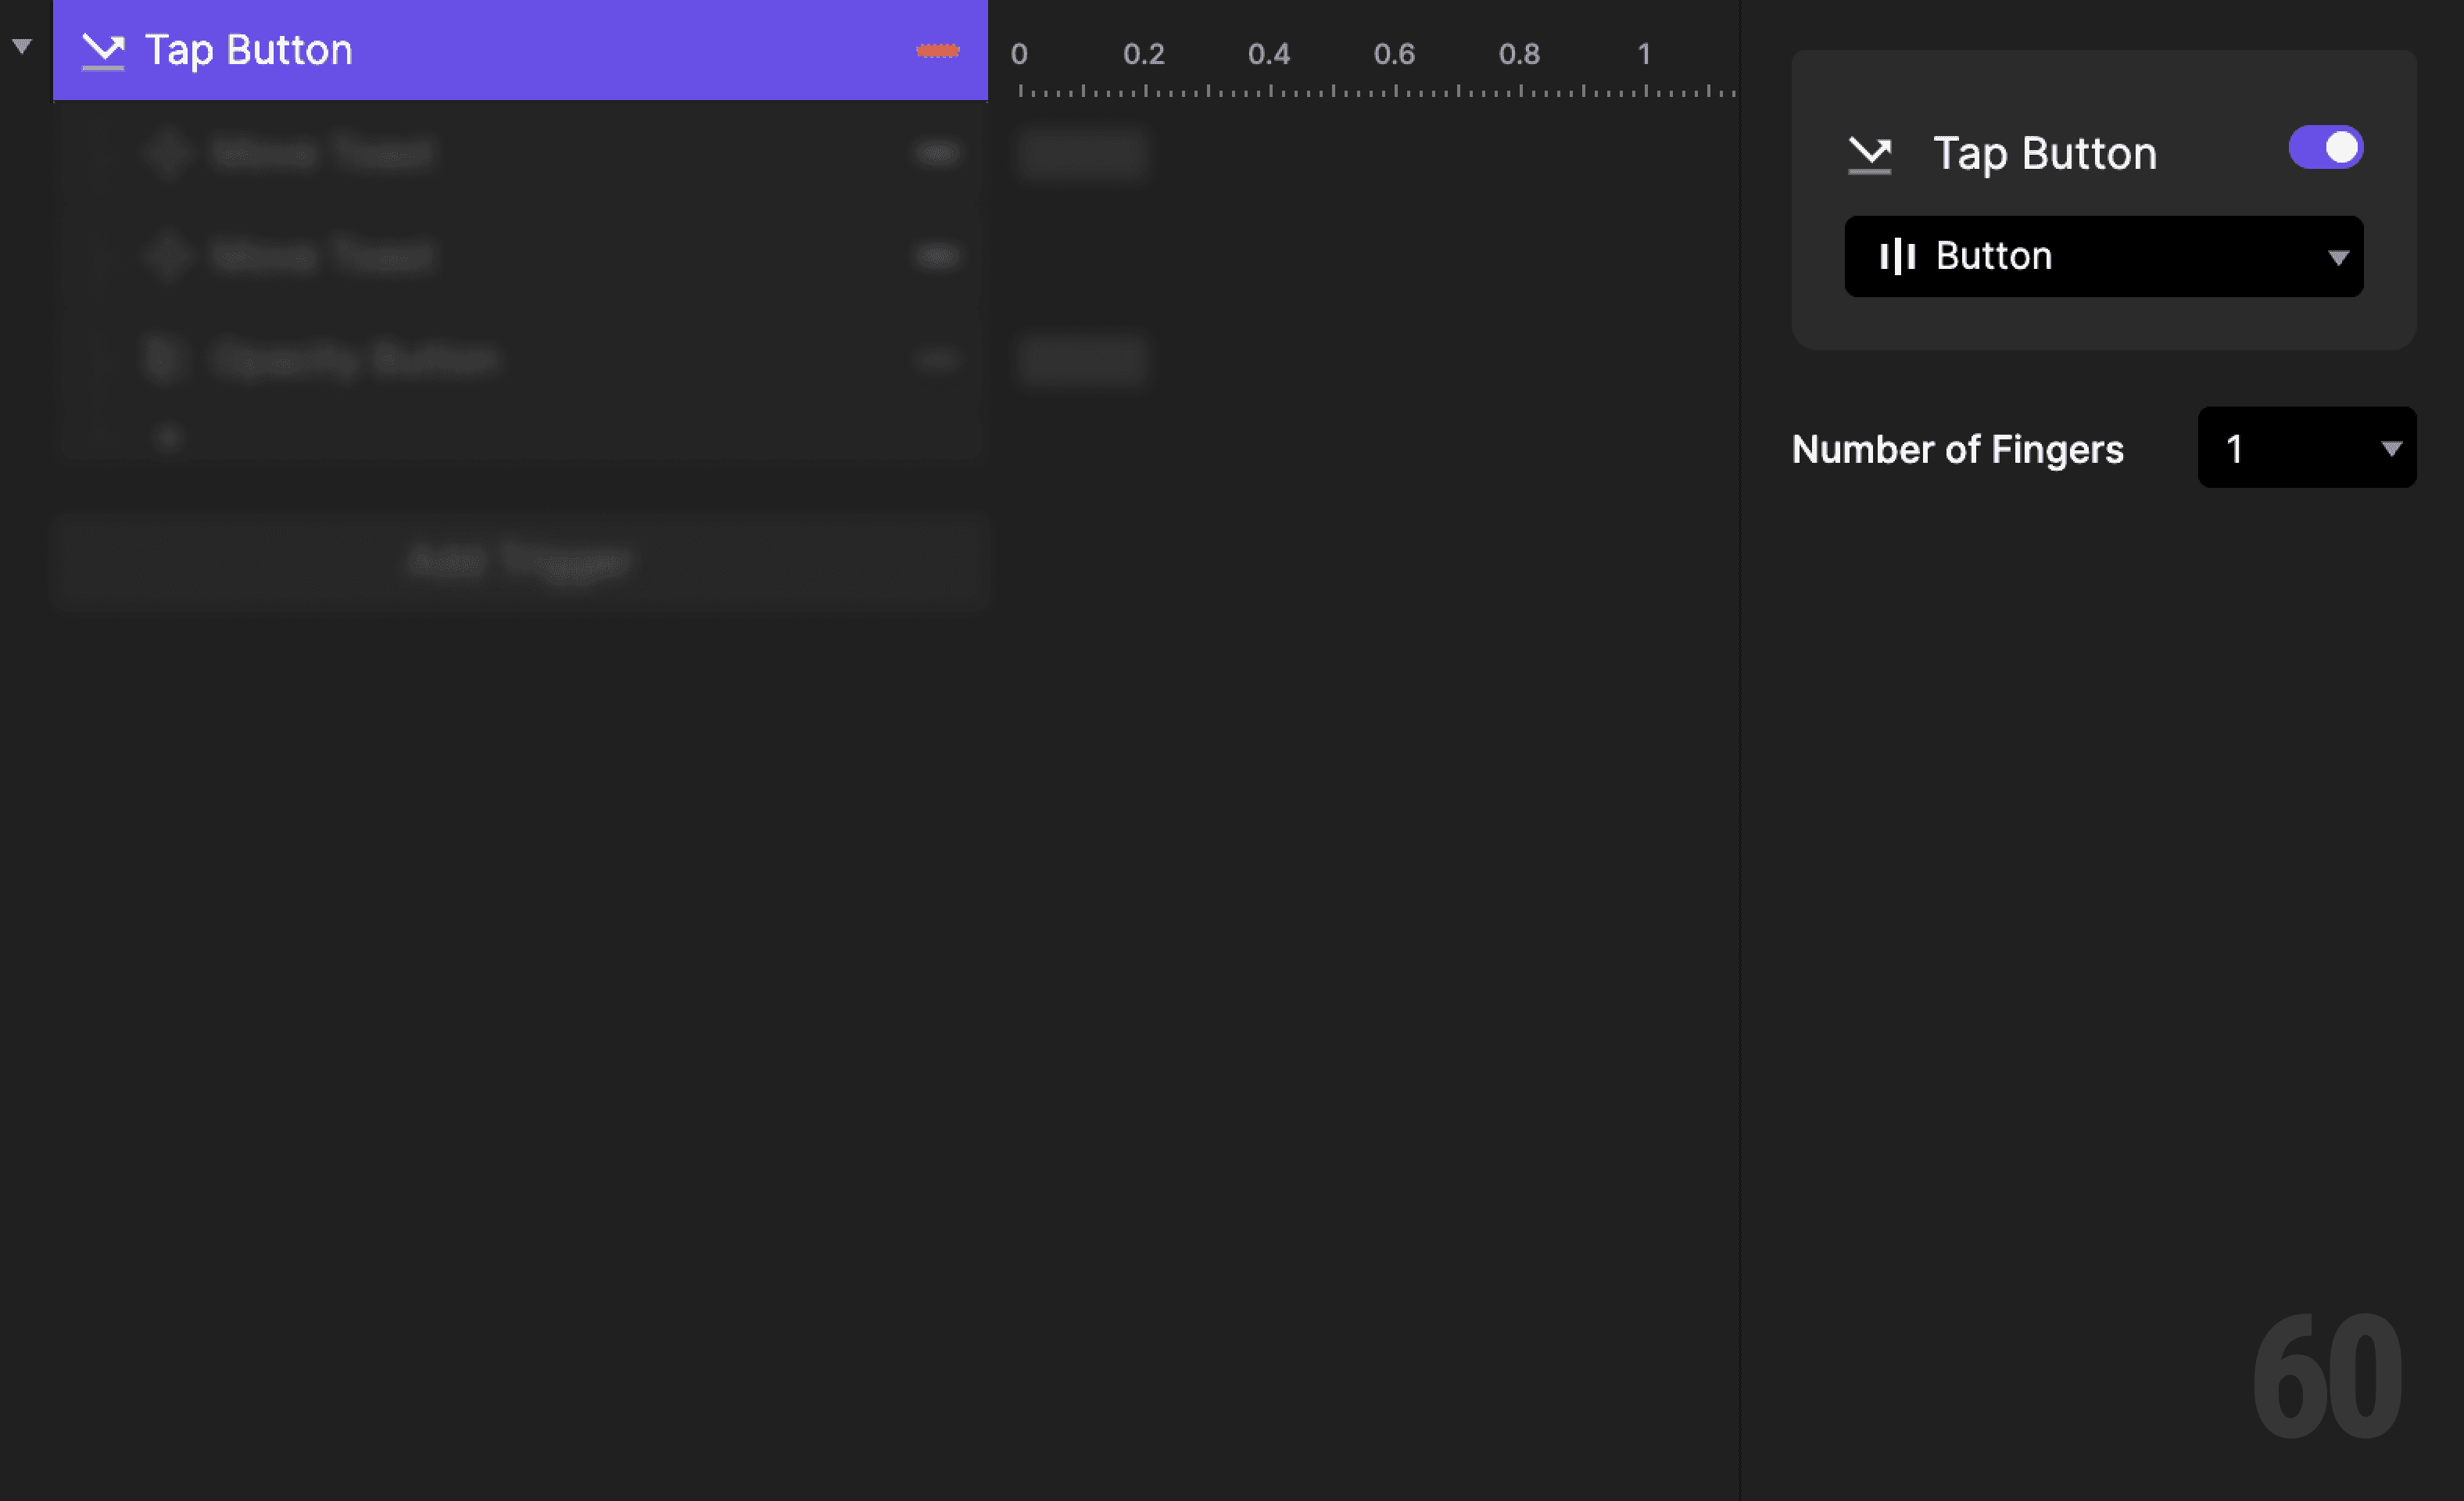
Step 1: Add tap trigger to Button
Select the Button container.
Add a Tap trigger.
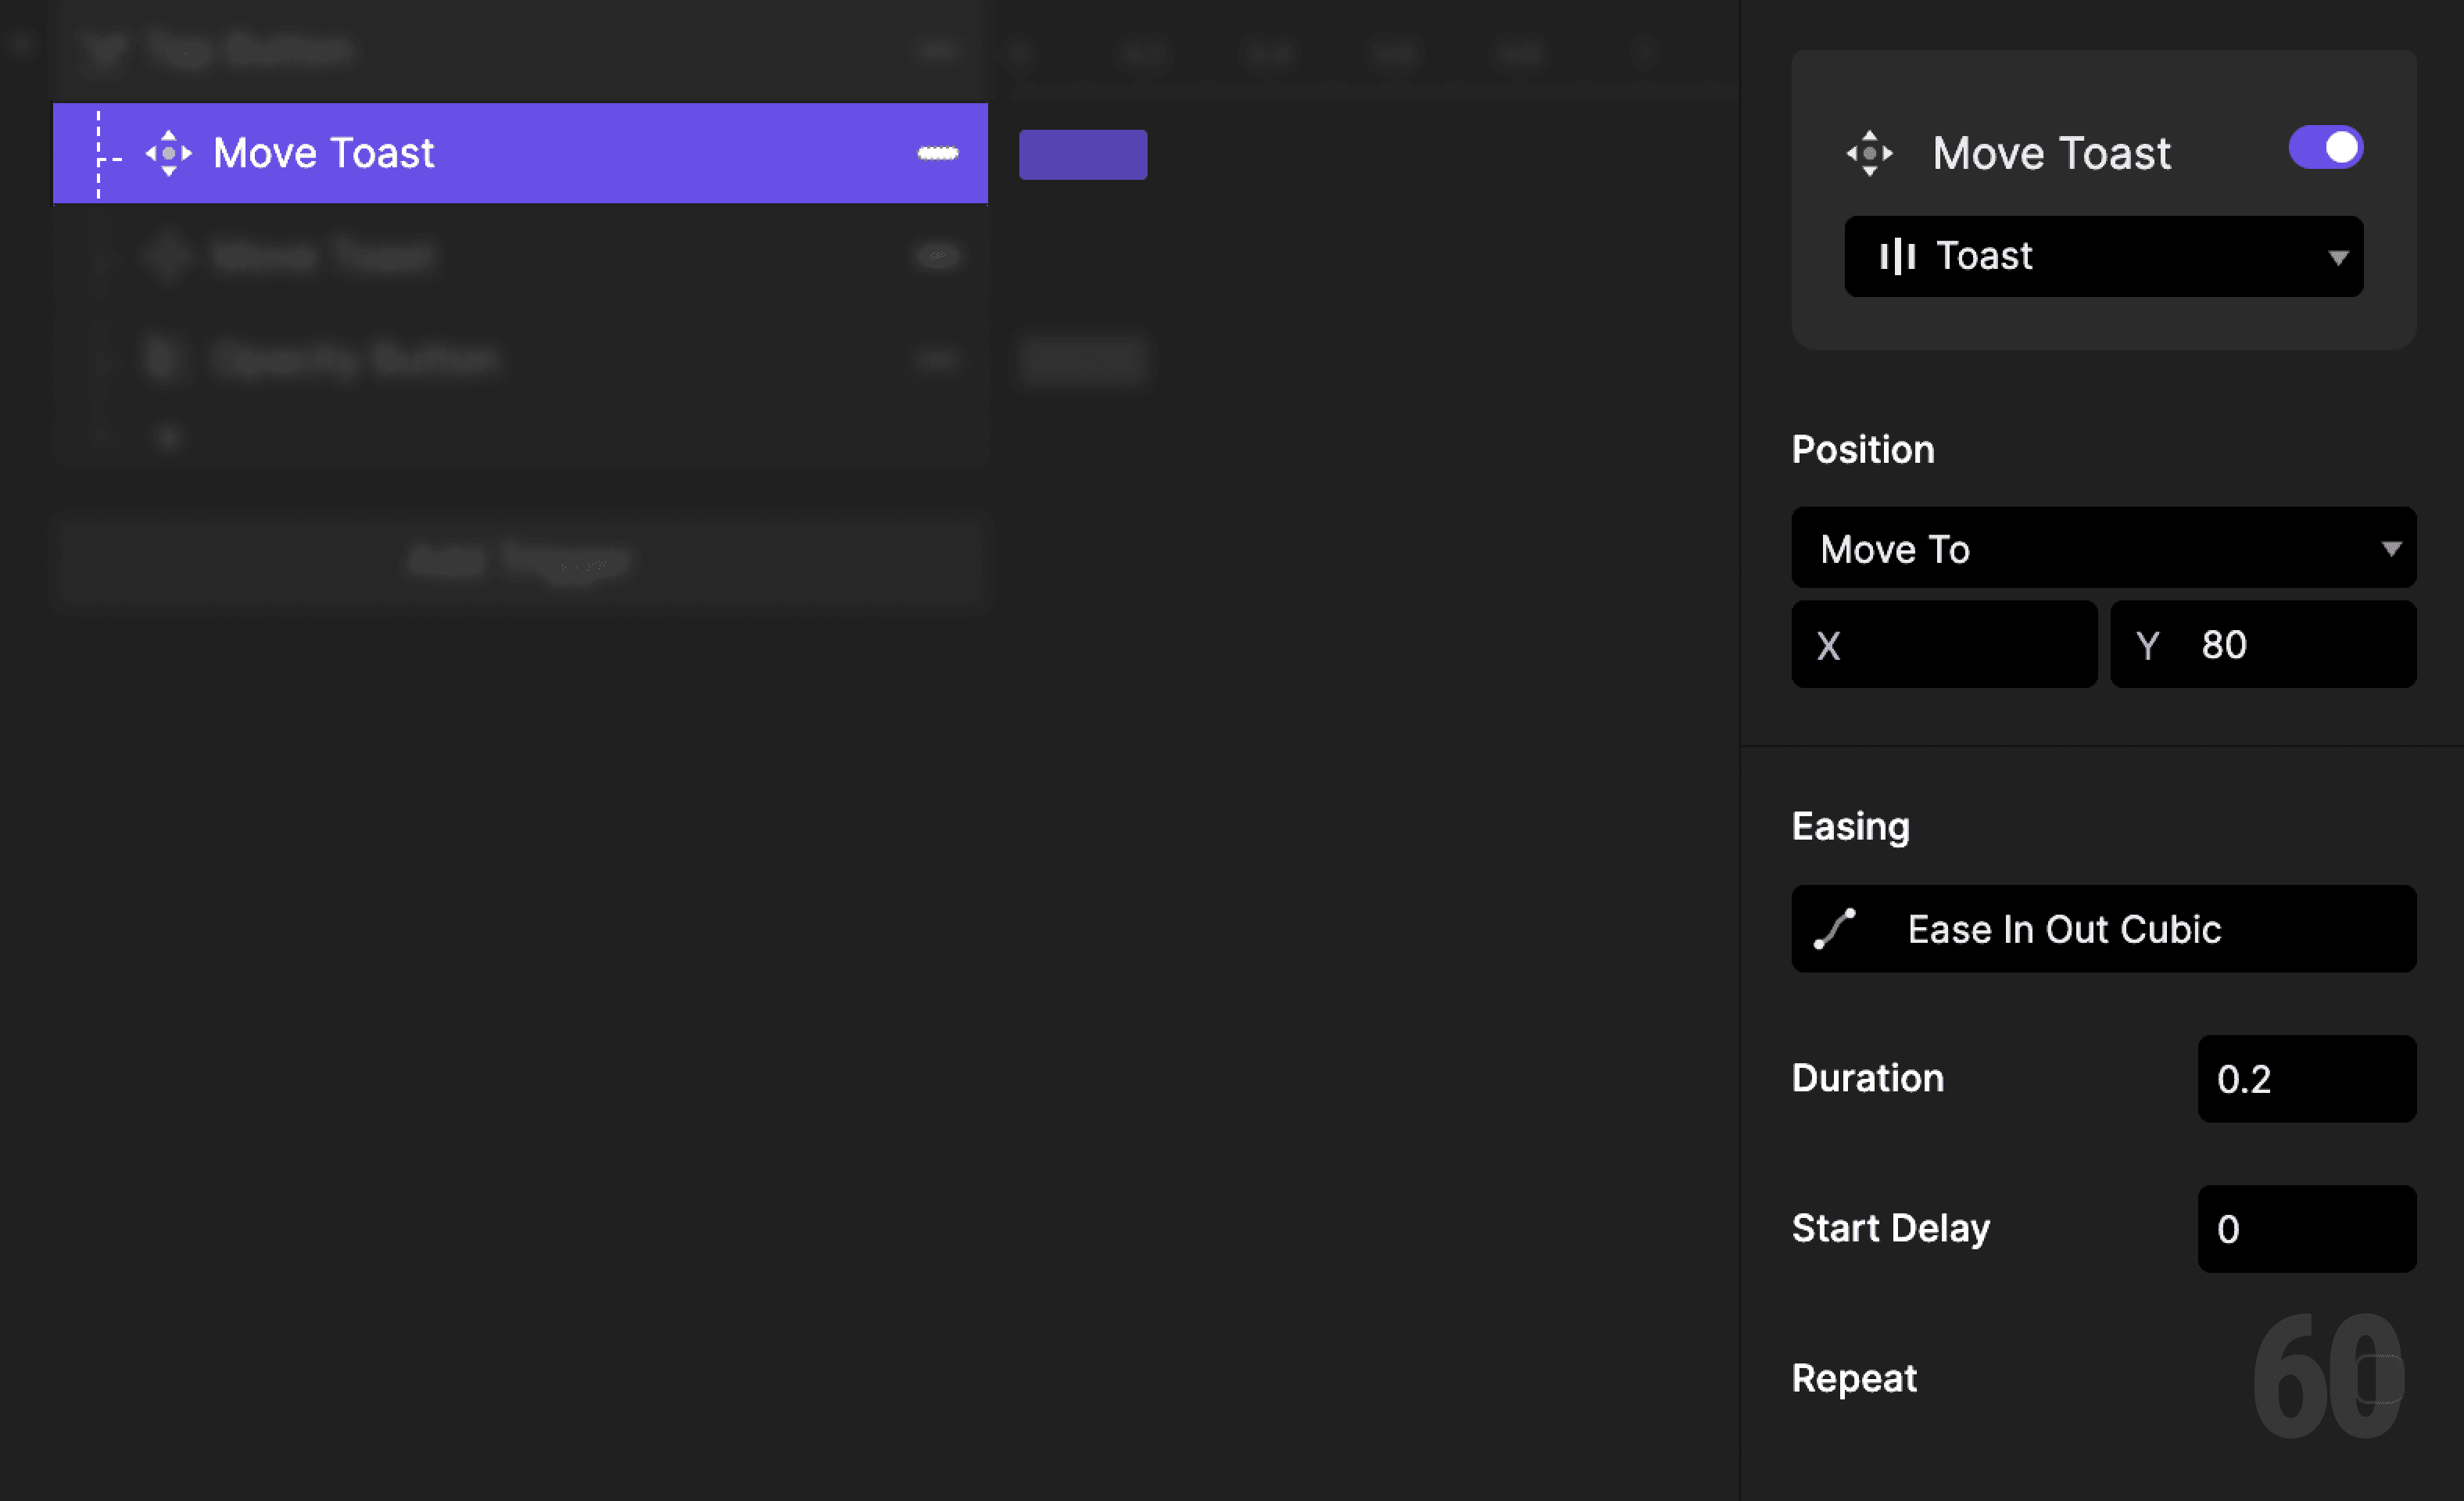
Step 2: Show the toast
Add a Move response.
Target: Toast
Set Y to 80
This slides the toast into view.
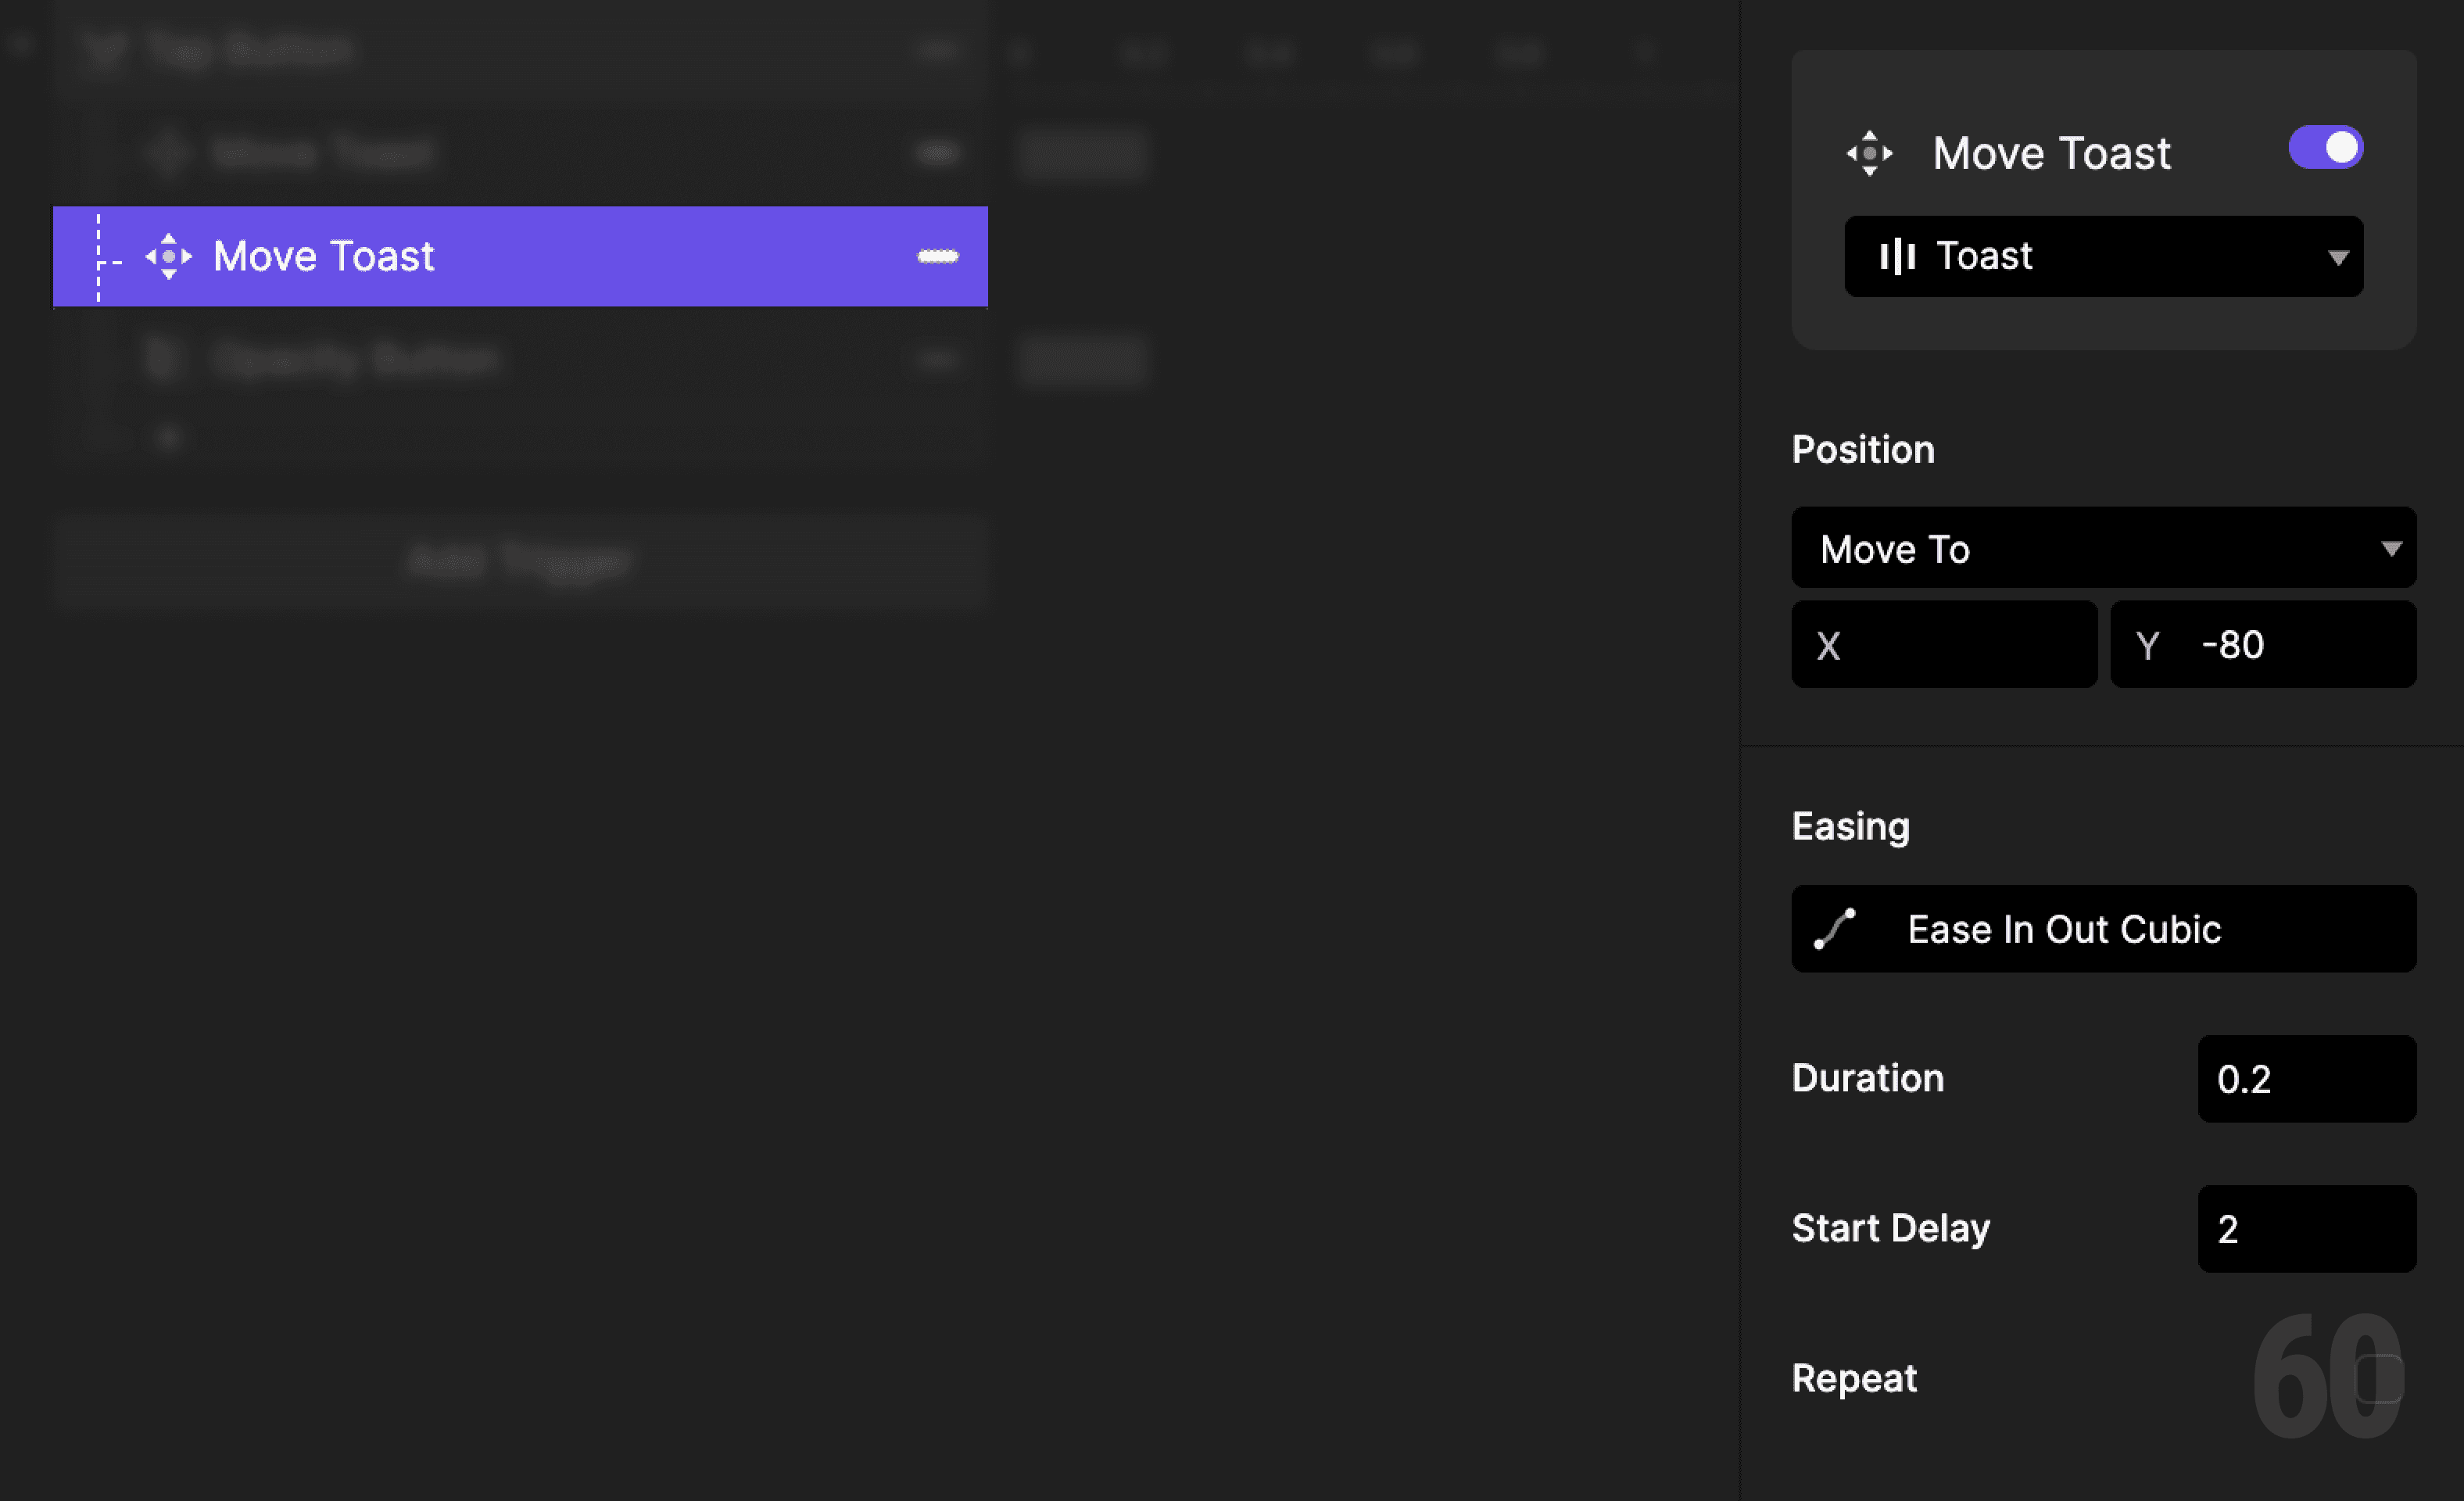
Step 3: Hide the toast after delay
Add another Move response.
Target: Toast
Set Y back to -80
Set Start Delay to 2 seconds
This automatically dismisses the toast.
Step 4: Hide the button
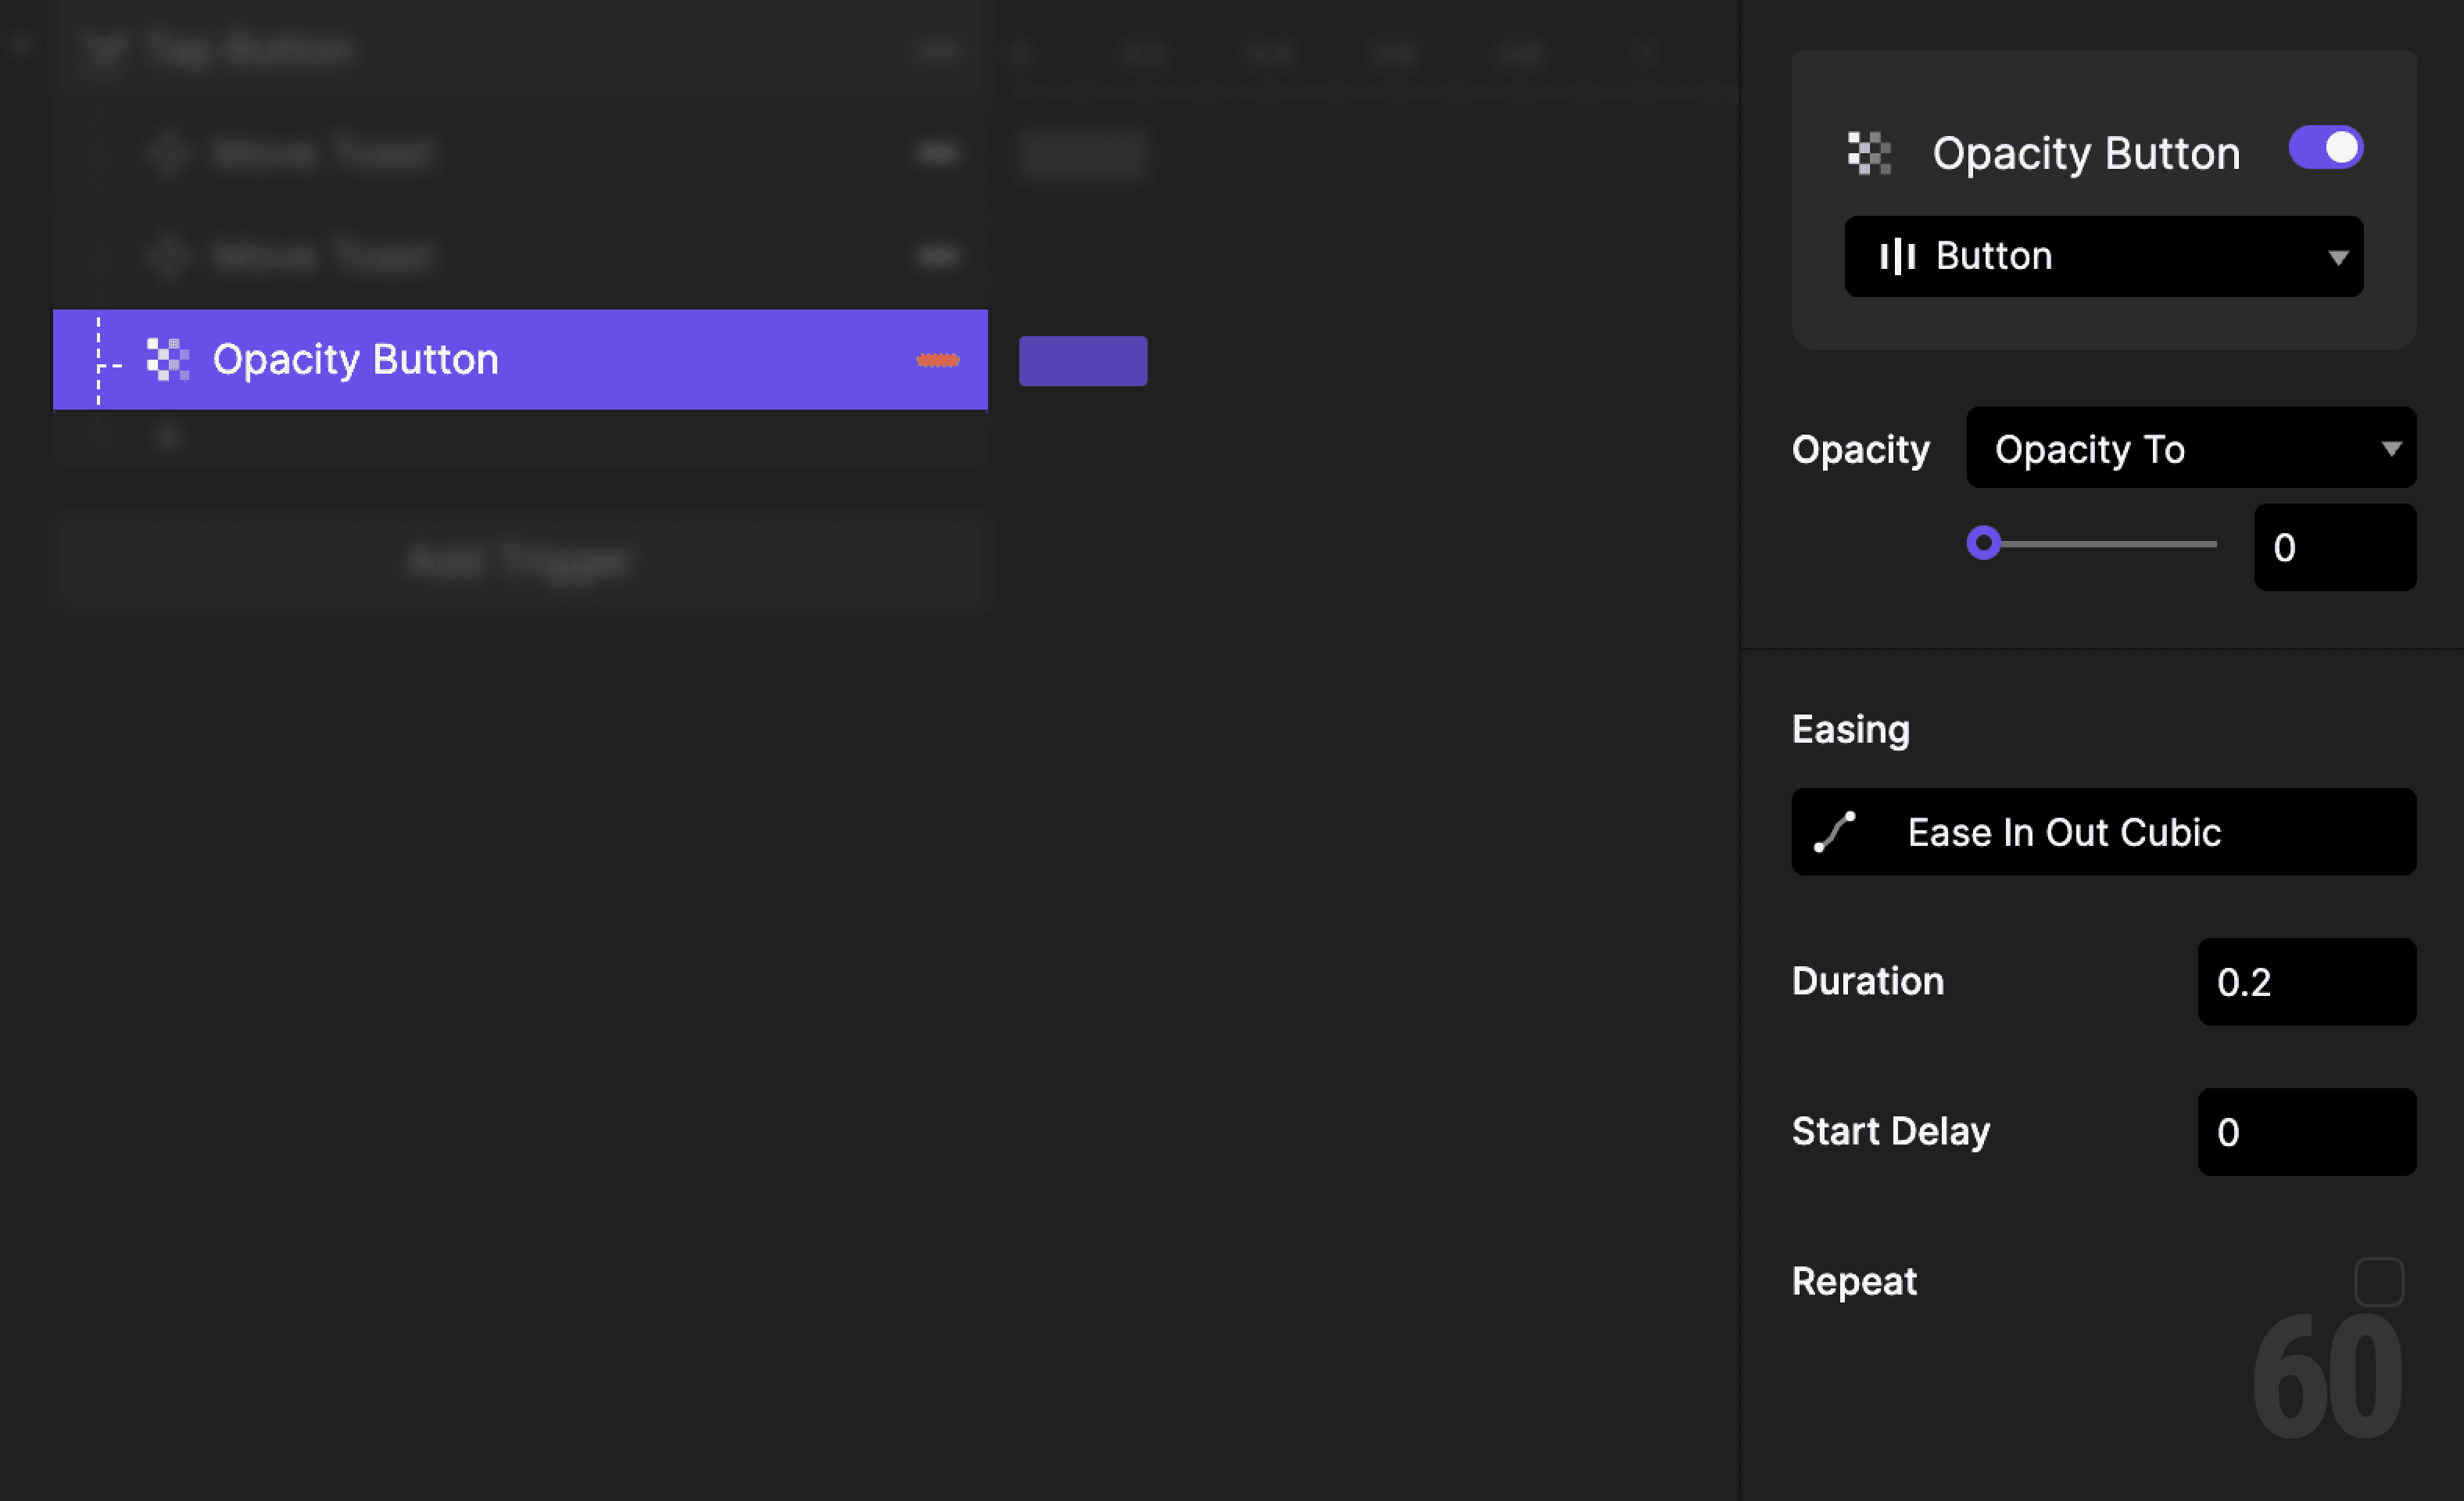
Add an Opacity response.
Target: Button
Set opacity to 0%
This reinforces that the action has already been completed.
Step 5: Preview and test
Tap the button once.
Check for:
Toast sliding in smoothly
Toast disappearing after delay
Button becoming inactive
If it feels subtle and calm, the interaction is correct.
Try this next
Add fade along with movement
Add haptic feedback on toast appearance
Reuse the toast for multiple actions